Last month, I made this sweet little patio table for my wife:
.JPG) |
| Made from salvaged shipping pallets and an old dilapidated fence. Even the nails and screws were salvaged. |
My wife requested a bench to go along with it. We needed the bench to be sturdy enough my kids could be their rambunctious selves on it. It also had to pass my wife's "cute" test. The bench needed to stow neatly underneath the table when not in use. Last but not least, it had to be free.
Having never done this before, I needed a starting off point. After some quick google searches, I found a great plan on Ana White's blog. Having two kids and two dogs, I knew I'd need something that would stand up to some abuse, so I beefed up the design a little bit. All the materials I used are thicker and I chose a more sturdy method of anchoring the legs.
Here's what I made:
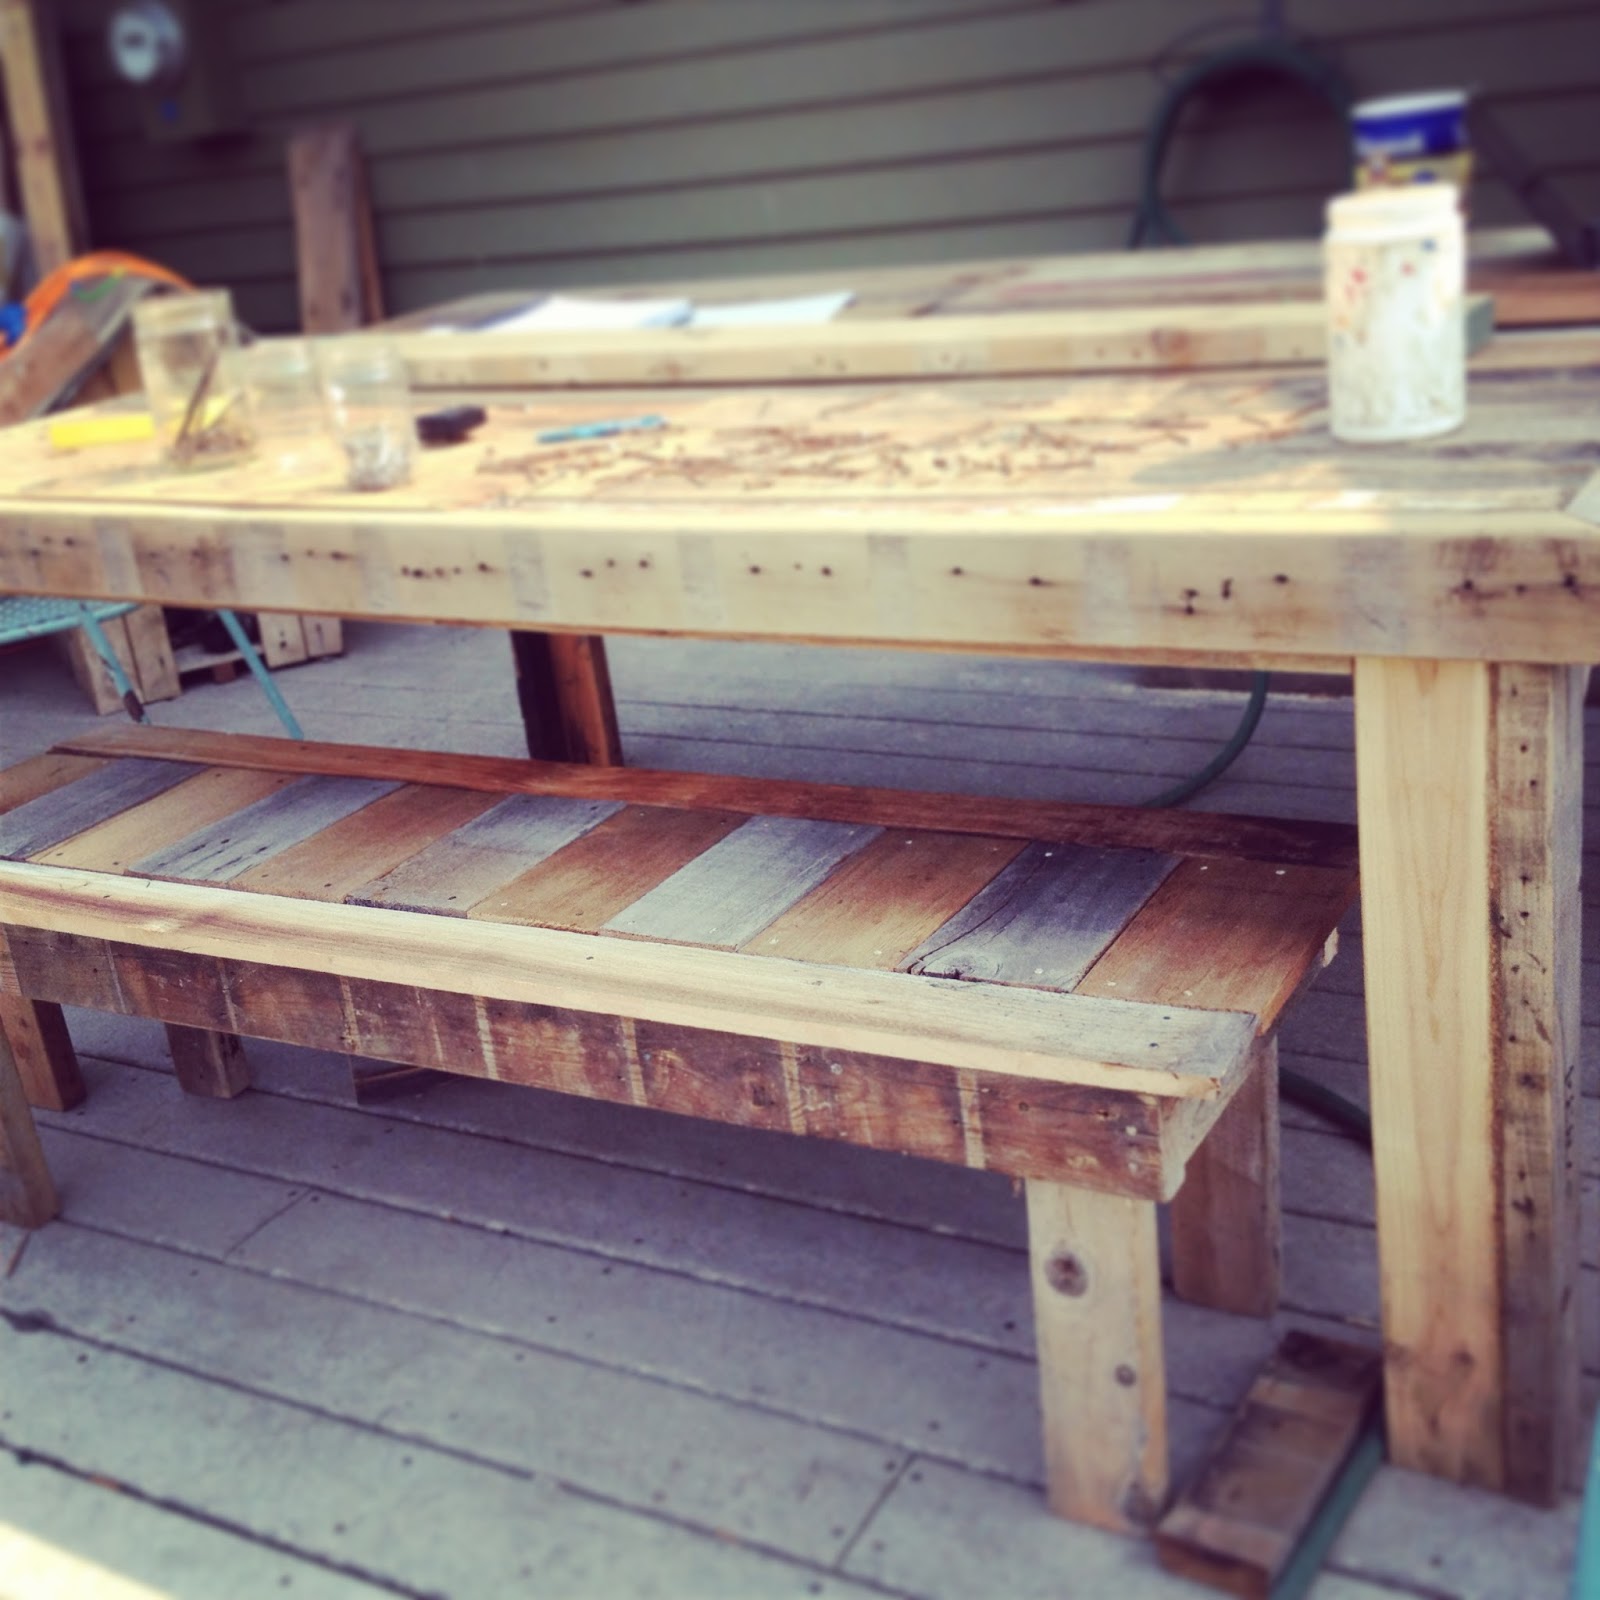
 |
| Ignore the mess! |
My bench is 5' long, 1', 5" tall and 1', 5" wide. You can, of course, modify these dimensions to meet your needs.
Step 1: Make the frame
Step 1.1: Cut the boards (again, modify the measurements to meet your needs)
(2) 2 x 4 x 56.5" - These are the side aprons (the longest side of the frame)
(2) 2 x 4 x 53.5" - These are the seat supports. They'll carry the load placed on the bench.
(2) 2 x 4 x 16" - These are the end aprons (the shortest side of the frame)
I salvaged these boards from an old dilapidated fence that was on its way to the dump.
 |
| Here's what the frame should look like all set up. Side aprons sandwiching the end aprons which sandwich the seat supports. |
Step 1.2: Attach the side aprons to the end aprons
This was easiest to do by stacking the end aprons on top of one of the side aprons, and then placing the other side apron on top to form a rectangle. Then I could drive the nails without pushing the frame all over the place.
 |
| Using wood glue on all the joints before you pound the nails will make the bench much more sturdy. Since my kids would be sitting on this, it was important to me that the bench be as sturdy as possible. |
 |
| Drive two 3" nails into each joint. It was kind of wobbly and fell more than once, but I got it. |
Step 1.3: Attach the seat supports to the end aprons
Later on, the gap between the seat supports and the side aprons will receive the bench legs. It is very important that this be a tight fit for the leg, so the gap has to perfectly fit a 2 x 4. I recommend using some scrap 2 x 4 as a spacer.
 |
| Add the glue where the seat support will end up. Then force the seat support into the frame (if you cut the boards right this should be a tight squeeze. You might have to tap the board in with a hammer). Then use the hammer to tap the seat support up against the 2 x 4 spacer. |
 |
| Before you pound the nails, remove the spacers and give each end a very light tap with a hammer just to make sure that gap will be a tight fit when you attach the legs later on. Drive two 3" nails into each joint. |
|
| Just a reminder, here's what you should have now (but with glue and nails and stuff). |
Step 2: Attach the bench top
Step 2.1: Cut the seat slats
If you are modifying the dimensions of the bench, or if you have different sized seat slats to work with you may have to make some adjustments. I just cut 10" lengths from two pickets from an old fence that I salvaged. One was 5 1/4" wide and the other was 5 1/2" wide.
Step 2.2: Attach the seat slats
Line up the slats on the frame so that the top and bottom edges of each 10" length rest flush with the edge of the seat support.
Also, center the boards along the length of the frame so the same amount of material hangs off of each edge.
 |
| In order to give the bench top a somewhat uniform look and to take advantage of the natural weathering of the wood, I alternated between the reddish slats and the weathered gray slats. |
 |
| I had about 1 1/2" of seat slat hanging off each end apron. |
 |
| Start at one end and attach the seat slats one at a time, so that you don't accidentally move the entire bench top towards one end or the other. |
At this point, you'll probably have to do some prep work before you attach the seat sides.
 |
| I wanted the seat sides to sit as flush as possible against the ends of the seat slats, so I used a rasp to remove inconsistencies where the slats didn't line up perfectly. |
 |
| Since I wanted the side slats to hang 3/4" off the edge of the side aprons, I measured the distance from the end of the seat slat to the outside of the side apron. Then I added 3/4" to that to get the distance from the edge of the seat slat I would mark as my cut line. |
I was feeling reckless, so I went ahead and attached the seat sides and cut them after they had been glued and nailed down. I used two pickets from a reclaimed fence for the seat sides, and I nailed each down with 6 1 1/2" nails.
Once the pickets were nailed down, I marked my cut lines and used a circular saw to cut the pickets to size.
 |
| Here's the bench top with the seat side pickets cut down to size. |
Step 3: Attach the legs
Step 3.1: Cut the legs
I measured a table chair to get a good standard sitting height for the bench. Our table chair sits about 17" off the ground so I went ahead and cut four 16 1/4" lengths out of some scrap 2 x 4 I pulled off an old pallet (the 3/4" of the seat slats make up the rest of the 17" height).
Step 3.2: Jam the legs in there
Remember when we made the gap between the seat supports and the side aprons a tight fit? That'll come in handy now. Put some wood glue on three sides of the leg and really jam it in there.
 |
| You'll probably have to tap it in there with a hammer, but don't make the mistake I did. Set the bench on a deck or other hard surface so you don't pound the seat sides out as you force the legs up against them. |
 |
| Use a hammer to gently tap the base of the leg against the end apron to square away the leg. |
 |
| Wood glue and two staggered 3" nails driven in will make this more than stable enough for my needs. |
 |
| Now it looks like a bench! |
That's as far as I got. What's left to do? A lot of sanding, sealing, and staining. I'll post again to keep you updated on my progress.
Good stuff, Shemacious. I recommend making a sister bench for the other side, and a couple of "Captains Chairs" for the ends. It would round out the ensemble nicely.
ReplyDeleteGood idea, Tom.
DeleteThis is great!
ReplyDeleteYou're great.
DeleteAwesome
ReplyDelete